Monday, August 8, 2011

First Fondant Wedding Cake


And... here is how we did it.
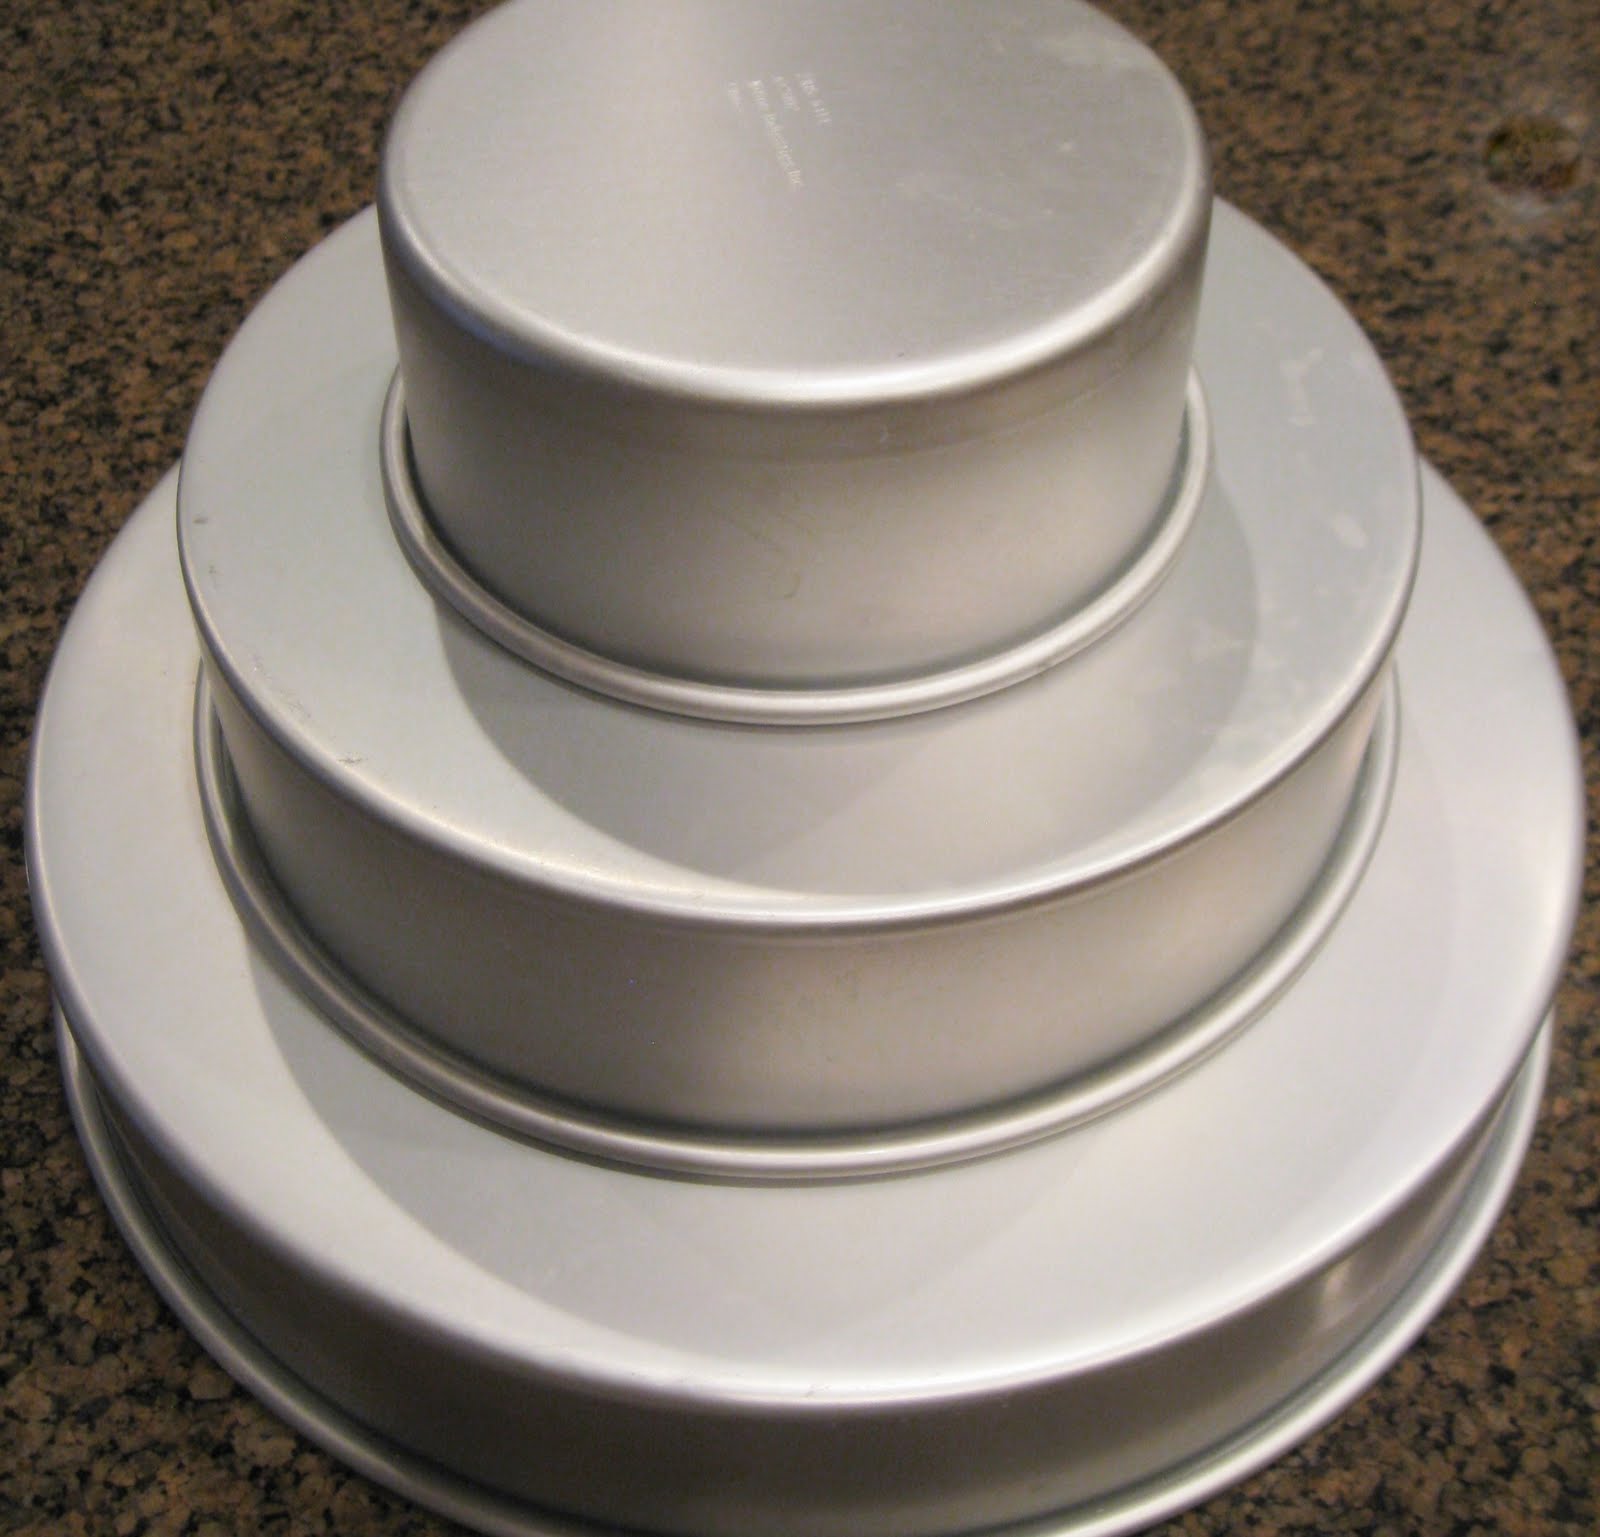
Here is my first run at making a fondant wedding cake. My mom, sister and sister-in-law all helped to make this cake. So we all take credit for this beauty! My sister-in-law supplied the cake pans for my nieces wedding cake.

My mother bought a cake core for the 14 inch round bottom layer. I am glad we used it. The core is for the center of the cake so that there isn't a big dip in the center where the cake isn't baked all the way through. The core allows for the cake to bake evenly.

We used 2 huge boxes of dense cake mix plus a little extra to create 3 double layer cakes. All you add is water! It was my first time with this particular cake mix. I loved using it!

Here is our first 14 inch cake cooking in the convection oven.

Here is the cake after it cooked. We took the core out and it left a hole. We filled the hole with the cake that baked inside the core.

The 14 inch cake came out of the pan beautifully! We were so relieved.

Here is a picture of the cake core and the top 6 inch tier of the cake cooling on a rack. Fabric was placed under it so that it wouldn't stick to the grooves in the cooling rack. Good quality paper towels would have worked well too.

Here is the top 6 inch tier of the wedding cake with frosting in the center. So far so good.

We placed 3 wooden dowels in the top tier of the cake to support itself and keep the cake from sliding. We are expecting hot weather for the Wedding.

I drew a heart in the butter cream frosting on the bottom 18 inch foam board for good luck. The frosting helps the 14 inch cake stick to the foiled foam board better. We didn't want any of the cakes sliding of the board.
Here is the middle tier of the wedding cake. We piped firm butter cream icing around the edges to create a dam effect. Then we put medium-thin icing in the center and smoothed it out with a spatula.
Above is a wonderful Wilton pastry bag that we used to cover the entire cakes with frosting.
Using the Wilton pasty bag and large frosting tip we circled the cake in butter cream frosting. It kind of looks like a mummy don't you think? Don't worry it gets better!

This creates a crumb coat of frosting when you smooth it out with a frosting spatula. We took off any excess icing and smoothed it as best we could then let it sit for 20 min. which allowed the frosting to harden.

Once hard, we used parchment paper to smooth out the rough edges. I love that trick. Doesn't it look much better. No hard lines. We wanted the frosted cake to be as smooth as possible so that the lumps and bumps wouldn't show up under the fondant.

Using Satin Ice White/Vanilla fondant purchased at Orson Gigi, we rolled out a large circle of fondant. The fondant rolled out was measured by the length of the diameter, plus 2x the side length, plus 2 inches. We smoothed out the top and sides with a fondant smoother and cut off any excess fondant hanging down below the cake base.
Orson Gigi had these cake dowels on hand so we cut them down to fit the size of each tier. We placed them in each tier to support each layer. Fondant is heavy! The bottom 14 inch cake weighed 18 lbs. The middle 10 inch cake weighed 10 lbs. And the top 6 inch tier weighed 3lbs. For a GRAND TOTAL of 31 lbs. Can you believe it!

We decorated the cake with rolled fondant pearl balls. Two layers of ribbon were added around the base of each layer to add color and texture.

Pearl dusting powder helped to make the fondant pearls really glimmer.

Here is the top tier with beautiful flowers.
Isn't it great! The cake turned out way better than expected. Thankfully!

My mom's friend graciously put the flowers on the top of the cake. The flowers added just the right touch!


Here is the 31 pound beauty!


Pretty good for our first wedding cake right?
It took 4 of us to pull this one off.
We couldn't have done it alone.


Phew! We did it!
The wedding reception turned out beautiful.

Book of Mormon Outfit

My goal with this project was to make a Book of Mormon outfit for Moroni's Quest Youth Conference. I wanted to make it without spending a penny! I did it! My husband was very happy.
My mom gave me a couple of really nice White/Cream sheets and I cut them apart to 45inches wide. I measured my husband and myself to get the measurement of the length. My goal was to make 2 Tunics out of the sheets I was given.
Here they are after I sewed the sides up 2/3 of the way and added fabric decoration around the collars. I used fabric scraps to make the collars. I sewed part of an old red curtain to make the sash on my outfit. My husbands sash was made from my brother-in-laws work shirt. I love to reduce, reuse, and recycle!
I would have chosen a different color for the outfits but I only had white sheets. The white did keep us much cooler than most in the mountains. I know...I wore it for 3 days strait!
Here is the finished project. The sleeves were a bit long so I slimmed the outfit down quite a bit and sewed strings on each shoulder. Tying a bow on top with a string of fabric finished the outfit. Not perfect, but I completed the task!
Here is my husbands Tunic. After I was done his outfit looked more like an angel so I added some zipper circle embellishments to the collar. I think it was the perfect touch.
For the zipper embellishments I took 3 old zippers from pants and cut them off. Using a thread and needle, I threaded string through each spiral of zipper and coiled it in a circle as I stitched the zipper together. It was a bit time consuming, but it turned out good. I used this same technique on the zipper hair bow for my daughter.

Wednesday, August 3, 2011

Moroni's Quest Banner


Here is a quick banner I made out of Brown velvet curtains. The fabric was perfect for this project because it was stiff and easy to work with.
I cut the curtains at the top where the rod would normally hang, into a triangle.
Using an indoor latex paint I had in the garage, I dipped my foam brush into the paint and dabbed it on the fabric using a letter stencil I printed off my computer.
I used latex paint because if it got wet while I was camping it wouldn't bleed like some other paints. Plus, it was cheep because I already had plenty on hand.
I stenciled the word Moroni onto each triangle and laid them out to dry over night.
Here is the finished product.
This banner was a quick free project that was great to display at camp. It represented our Youth's Camp theme and was a fun added touch.
I braided a rope out of an old bed skirt ruffle. I took 3 long strips of fabric and braided them while the paint was drying. I used a crochet hook to thread the braid through the top tab of each triangle on the banner. The banner measured about 5-7 feet.
I tied the banner to 2 bushes at camp. The trees weren't close enough in the area we were camping in.

Saturday, July 16, 2011

Pink & Green Striped & Polka-Dot Cake

Here is a a sneak peak at my sister-in-laws Birthday cake I made.
The cake turned out fine, but I learned from this experience that I should have used wooden dowels or plastic tube dowels for support in this particular 2 tiered fondant cake. Homemade marshmallow fondant is very heavy. Live and learn :).
I like the look of combing various sizes of polka dots and off centering them for a whimsical look. Mixing color into homemade marshmallow fondant is simple to do but it is a real work out for the hands.
Here is the completed cake for the party!

Thursday, July 14, 2011

July Blooming Flowers


All of these Perennials are grown in my yard.
Orange Summer Blooming Day lilies are so magnificent. They grow about 5 feet tall where I live. They spread like weeds but are so beautiful that they are worth it.

Hens and Chicks are one of my favorite sun loving succulents because they are so easy to grow and require virtually no maintenance. I just planted these in a concrete bowl and I can't wait to see what they look like next year when they fill in.

Here is one the the Hens and Chicks as it bursts to the sky to set seed. It doesn't happen very often but it is way cool to see it grow so tall.


Coreopsis ( tickseed)is a plan for full sun to partial shade. Great for cutting. I deadhead the plant a couple times during its bloom period to have constant blooms.

Perennial Geranium (Cranesbill). Low growing and spreads well.
There is a wide range of sizes and colors out there.

Shasta daisy great for cut flowers.


Yellow compact day lily.

Firework of Succulents!
Here is a mixture of 3 different kids of succulents. When they bloom they are a firework of color.


Oriental Lily

Tuesday, July 12, 2011

Little Froggie

Look what the boys found tonight in the yard! I love Frogs and so do my sons. We find tiny frogs in our sprinkler boxes in the lawn. It is a treasure to see them hopping in the grass.
The kids squealed when the frog jumped off their hands and onto the Green grass.
Frogs are one of my favorite amphibians. They beat seeing snakes any day!
Does something look odd to you in this picture? Do you notice the one legged Cricket? I don't think the frog had anything to do with it nor the kids...but I do feel bad for the poor guy.
A Perfect end to a hectic day! Seeing little Froggie made me smile!

Grass


Growing Grass is easier than it sounds. My daughter got this little guy as a birthday gift and we filled it with grass seeds and dirt and within a few weeks we had a full head of Grass!!! We even had to give the little guy a hair cut because his hair was getting too long. I will definitely grow some more grass next year. Maybe around Easter time!

Gigantic Mushrooms


My neighbor brought this Extra, Extra Large Mushroom home from a hike a few weeks ago.
Did I say EXTRA, EXTRA LARGE??? I have never seen any sort of fungus that big in my lifetime!

I bet it weighed 5 lbs or so. It was a solid mushroom. Talk about crazy Utah weather! It has been a wet spring for most of Utah. A mushroom this size had to have been grown in a wet climate!

What an amazing mushroom to say the least!

Extra Large Mushroom


My darling son found this mushroom in the field behind my house.

I was shocked to see such a big mushroom growing where I live. I have seen little mushrooms popping up in my yard where the wet spots are. But...nothing this size, thankfully!
It has been one wet Spring!