Wednesday, October 5, 2011

Adding Elastic Waistband to Shorts

 Soooo...my son won't wear shorts that are loose. Delema...he has a pair of shorts given to him by his Aunt that are darling but..... that are 3-4 inches too loose in the waist. I began tackling this project head on. I got some elastic from another pair of pants that I was throwing away and cut it into 2 pieces. Then I cut a slit in the inside wasteband area of the shorts.
 I hand sewed a button hole looking slit. not too professional but who is going to look there right?
 Then I hand sewed a button next to the hole. Pretty tricky considering I didn't want to sew through the other side of the shorts.
 I inserted the elastic band about 3-4 inches and sewed it in place. I sewed underneath a belt loop so that no one would know that we changed the inside of the shorts.
 I slipped the button onto the elastic and VOILA! Shorts that fit! 
My son now wears these shorts a couple times a week.

Simple & Sweet Apple Turnovers

SO DELICIOUS APPLE TURNOVERS!!!

Really simple to make: 1 Can apple pie filling(chop coarsely), 
1 Box Refrigerated Pastry Pie crust (2 circles per package), 1 egg, powdered sugar, 
milk, water, almond extract.

Cut out circles with a glass or small bowl. Use knife to score edges. Fill center with 1 TBls. filling.
Wet seam with a small amount of water and press closed.


Score edges with fork or I used a Wilton decorative stitching tool (used for cakes & fondant). 
It is pictured below. 

Beat egg with 1 tsp. Milk and brush on the top of the turnover. 
Yum! The egg wash created this nice browning effect after they were cooked in the oven. So awesome! 
SOOOOO TASTY LOOKING!
After the turnovers cooled for a while, I glazed them with powdered sugar and 1tsp. water and 1tsp. almond extract. After I mixed the icing I poured the mixture into a Ziploc bad and cut a small hole in the corner. I used it as a make shift pastry bag. Then I drizzled the topping on and allowed it to dry.


Heavenly treats!
Warm, sweet and tasty treat for the Fall season. You can't beat these treats for the holidays.
These beauties remind me of the little Wonder Bread pies that my Dad used to bring home when I was a little girl. What a treat they were. They package up nicely for a great gift.

Thursday, September 22, 2011

Silk Flower Hair Accessories

 Silk Flowers for my girl's piggy tails! I finally have hair accessories to match my daughters church dresses.

My dear friend and I made these hair accessories today. We had so much fun creating and designing these beauties!


I purchased silk fabric and used some old skirt linings and suit jacket linings to make these beautiful hair accessories. As usual, I have to craft using something I already own and I have to use up what scraps I have laying around. I cut many different sizes of circles and spent time over the flame of a candle to complete this project. I burned the edges of the circle shaped fabric and it caused them to curl. Then I layered them on top of each other and glued them together using a hot glue gun.

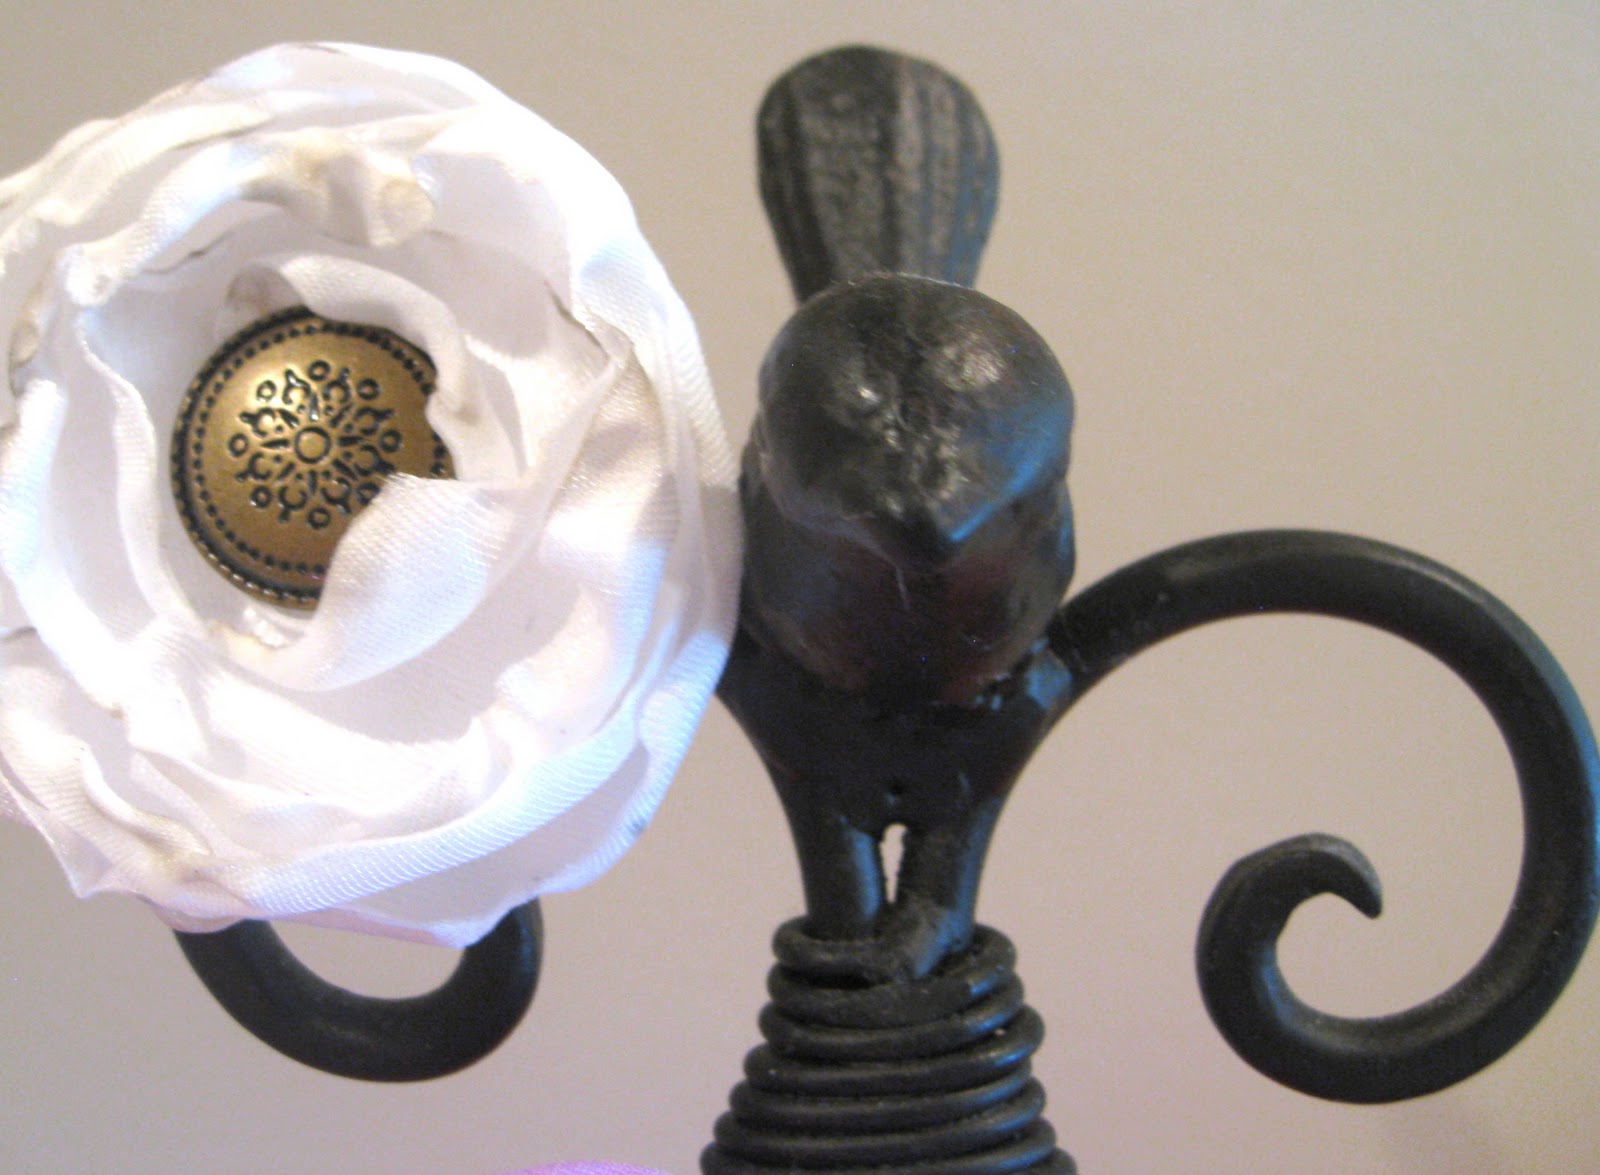
 I used floral flowers for the hair accessories below. I took the fake floral flower apart and glued each petal on one piece at a time. I thought they turned out bright and cheerful. I used old blouse fabric covered buttons for the center as a delicate accent.


Here they are on display for me to look at and enjoy for a day! I can't wait to do my daughters hair tomorrow! So many hair accessories to chose from. It was good to chat with a good friend today and work on this craft together. Thank you dear friend!

Wednesday, September 21, 2011

Yellow Toddler Shirt Button Cover-Up

 Darling Yellow stripped toddler shirt with Peace heart. My friend gave me this cute shirt for my daughter and I loved it, but wanted to change it up a bit. 
I am not a huge fan of peace signs on my little girl so I unpicked the center of the heart and attached a simple White button for decoration.
BEFORE...

AFTER! 
Simply Perfect

Refashioned Green Paisley Dress

BEFORE & AFTERS
Green Paisley Dress BEFORE....

Cute skirt AFTER!

 Yes, I couldn't let this dress go to the DI. I had to refashion it into a beautiful skirt. My niece gave it to me and I loved the print. It did not fit her or I but I knew the fabric was in great condition and I wanted to experiment with my sewing skills. I took the dress apart and began sewing...

 I unpicked the elastic inside the waistline of the fabric. Reduce, Reuse, Recycle! This was a project that I did not spend a penny on. That is the kid of craft I like!  

 Here is a picture of the elastic after I unpicked it. It came out beautifully. I folded the top of the skirt over and  sewed it. Inserting the elastic with a pin on the end was a cinch. I sewed the two ends of the elastic together and then sewed the opening. HERE is the finished skirt. Now.....What do I wear with it?

 I took in the top by slimming down the arms and sides. I don't know if I will actually wear this shirt, but I had fun making it smaller and practicing my sewing skills. I took this outfit from a size 22 and trimmed it down quite a bit.

Scrappy Sampler Twin Quilt

Here is the finished project laying on the end of the bed. This is my first sampler quilt and I am sure it won't be the last.

Here is a sneak peak of both the front and back sides of the sampler quilt.
My goal was to use every scrap of fabric I could find in my house for this quilt. I was running low on scraps so my neighbor gave me some of hers and I used them in this quilt. It has so many different colors but the boarders and sashing tie it all together well.
I can't believe how time consuming this project was. Would I do it again......yes but with the awareness that It will take months to complete. I started this Sampler Quilt class in January of 2011 and I finished this quilt in September. So 8 months later here is the final work of art. I struggled with some of the quilt blocks but I learned many valuable lessons from taking the class from Myrna. What a great patient teacher!

Here is my sampler quilt after it was machine quilted by Myrna and now it needs to be bound. I sewed the binding on one side and hand stitched the entire twin quilt on the other side.

This block was fun to do.

Packing the quilt top, batting and backing to get quilted.

Here is the back of the quilt. I had fun trying to find the right combination of fabrics to make it come together.
I laid out all the blocks and sashing before I sewed the rows together.
I love to use my rottery cutter to make nice strait rectangles for the sashing.
Quilt squares stacked and pressed flat.
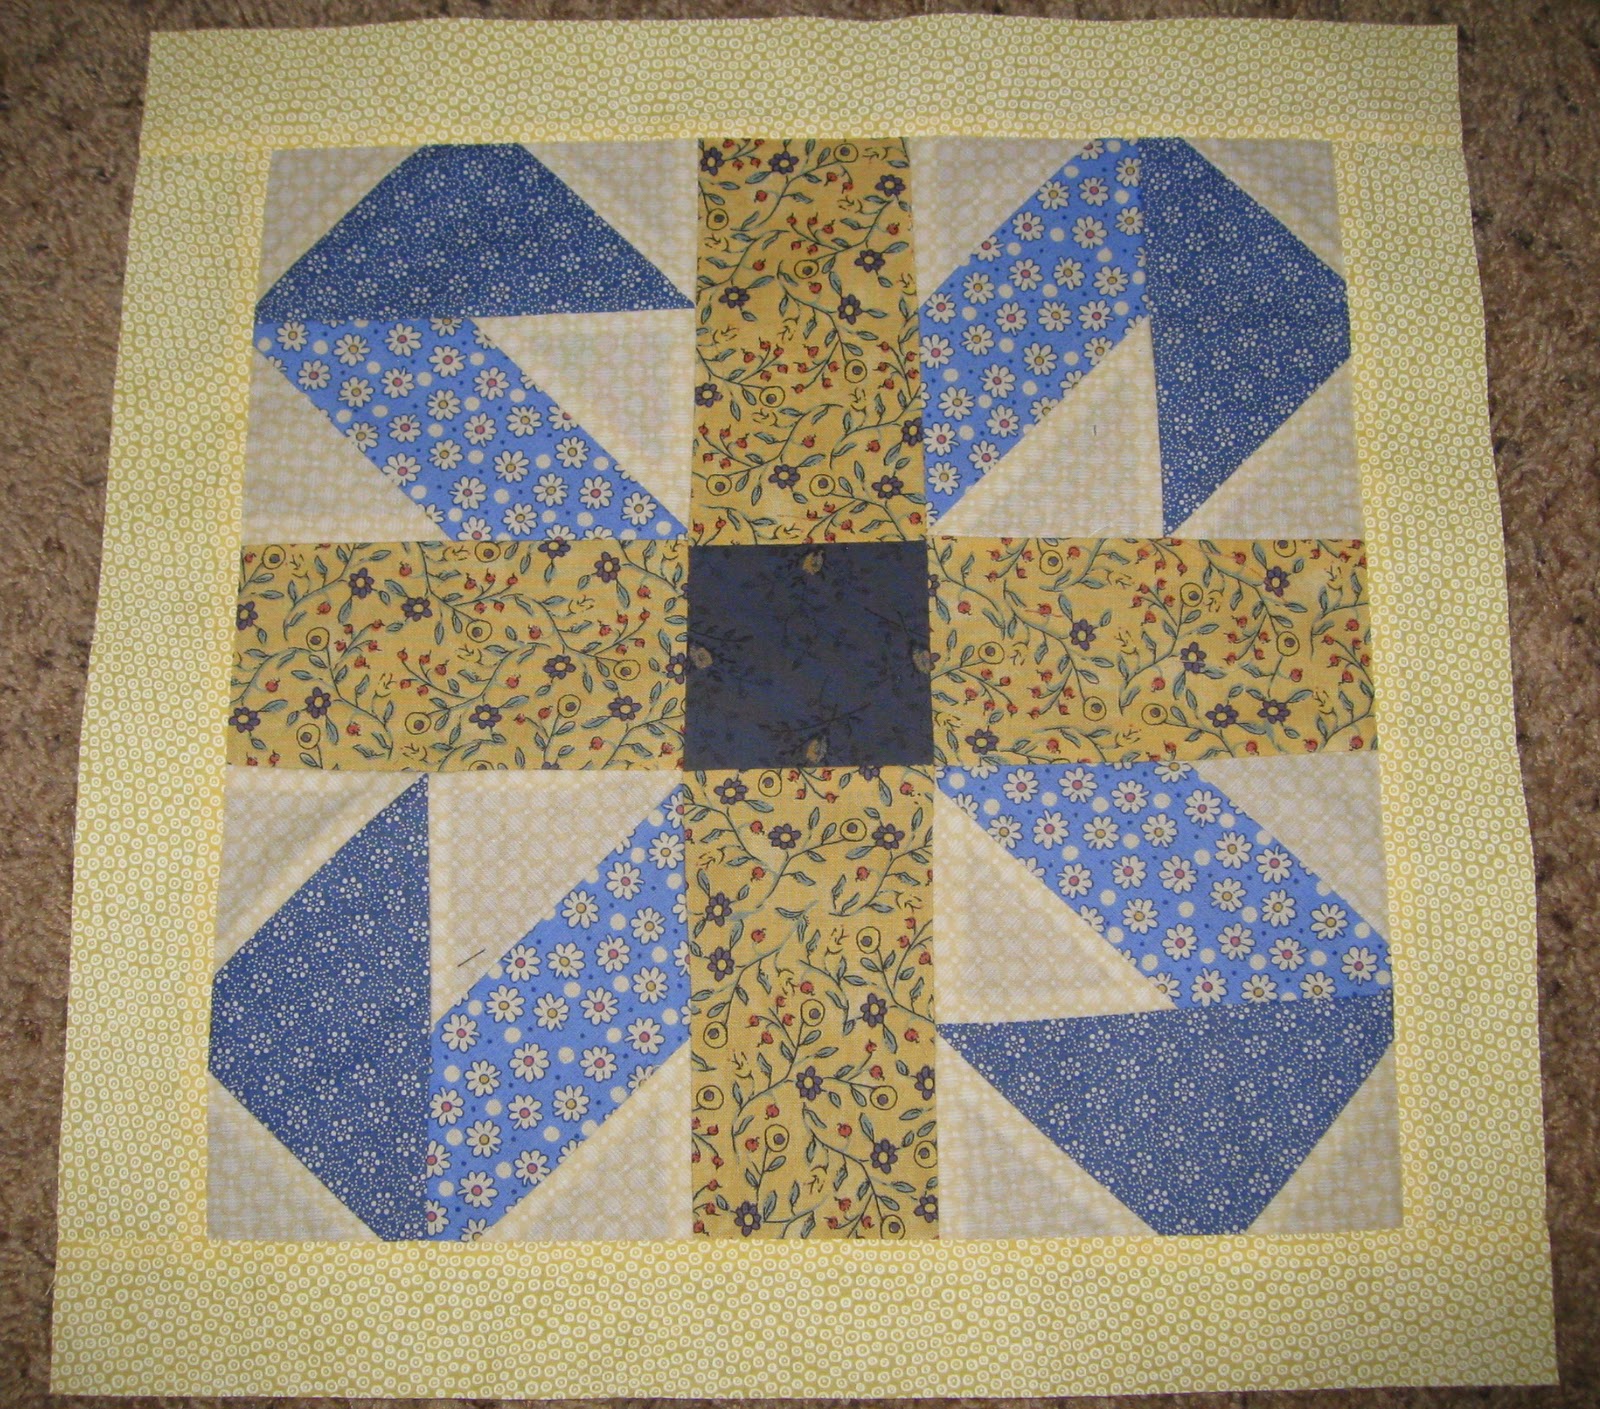
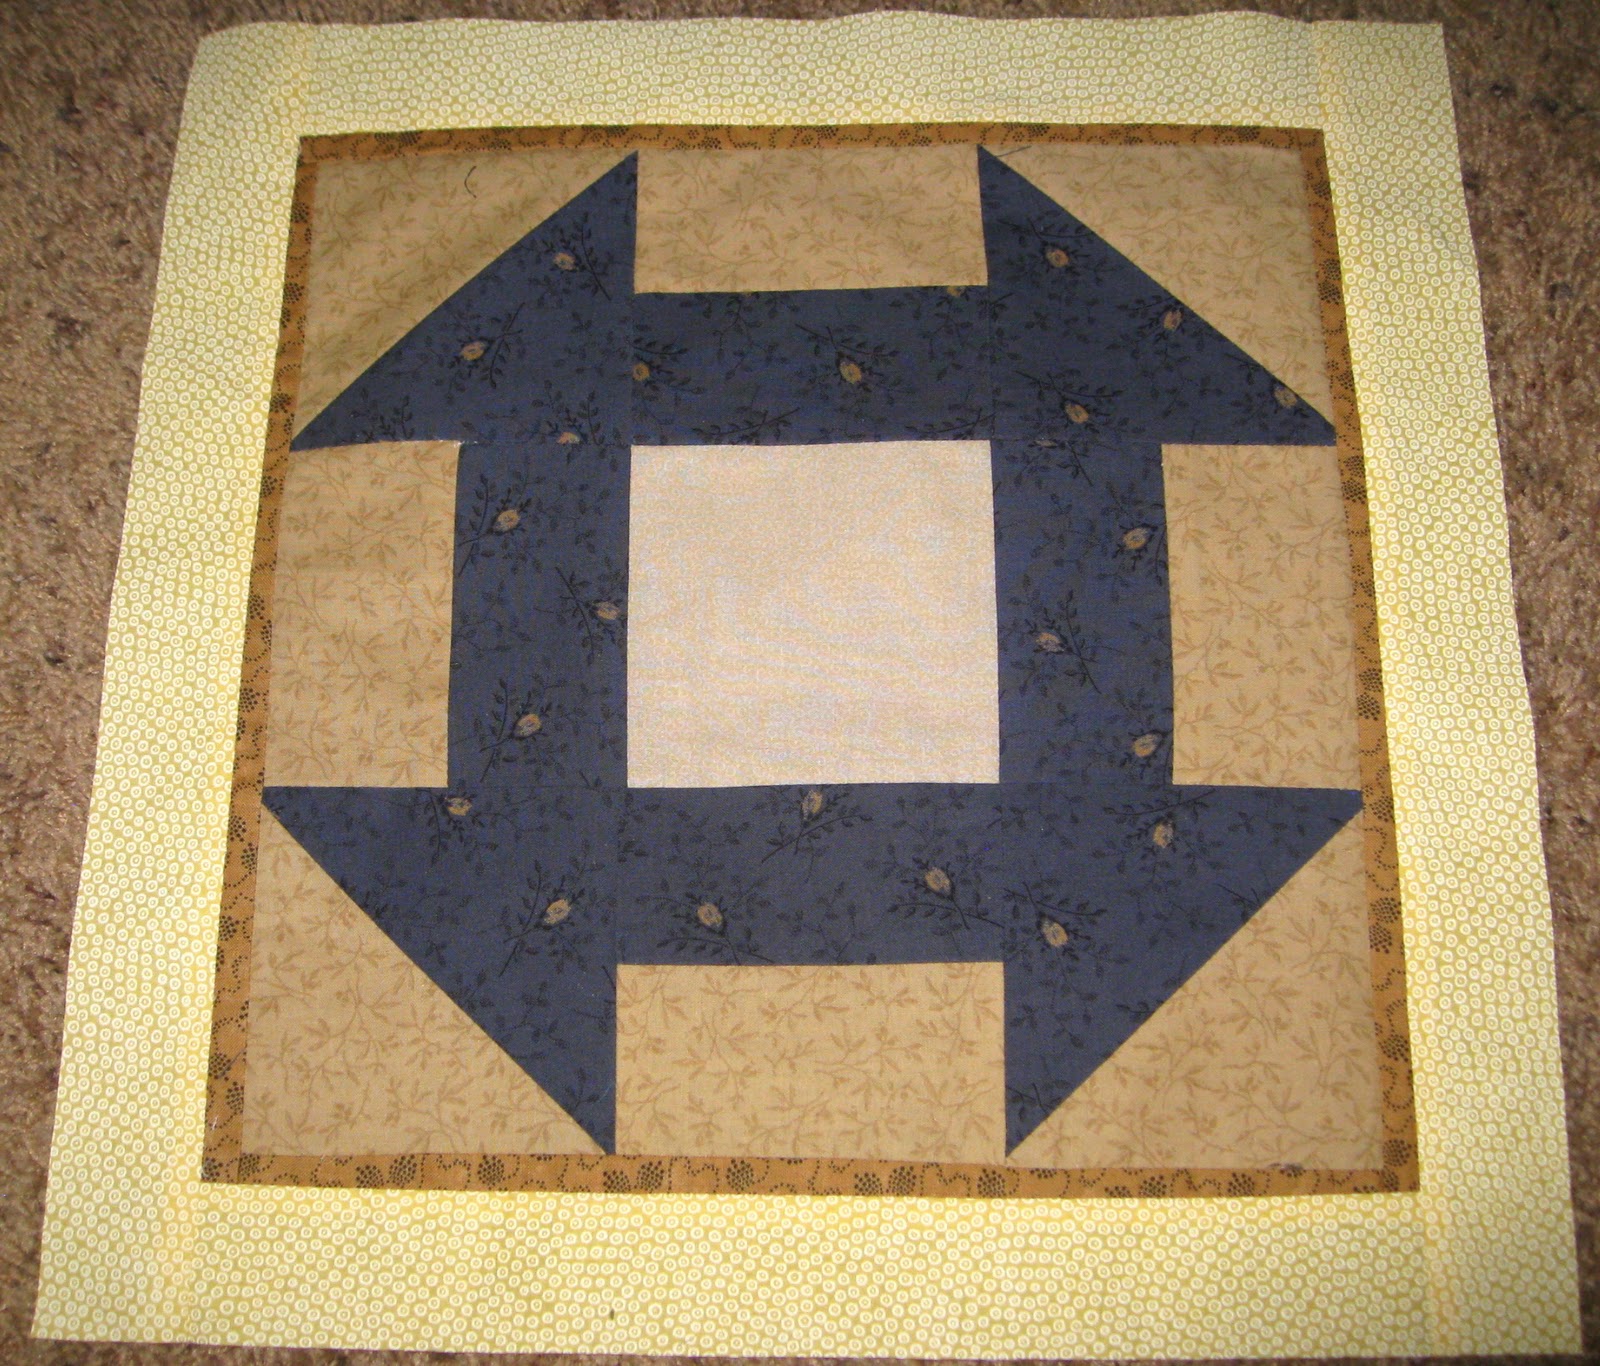
Below are all the quilt blocks as individual squares with the name of the design below each one.
"Dresden Plate"
"Jack-in-the-Box" ( I didn't use this one because it didn't match.)
"Drunkards Path"
"Jack-in-the-Box"
"Beth's Block"
"Rippling Star"
"Log Cabin"
"Night and Noon"
"Bear's Paw"

Made up version of a "pinwheel star"
"Rail Fence"
"Kentucky Chain"
"Paper-Pieced Hearts"
"Railroad"
"Turkey Tracks"-my own version.
"Crows Foot"
"Lillies"
"Double Cross"
"Churn Dash"
"Flying Geese"
"Pinwheel Star"
The finished Scrappy Sampler Quilt.