Wednesday, September 21, 2011

Yellow Toddler Shirt Button Cover-Up

 Darling Yellow stripped toddler shirt with Peace heart. My friend gave me this cute shirt for my daughter and I loved it, but wanted to change it up a bit. 
I am not a huge fan of peace signs on my little girl so I unpicked the center of the heart and attached a simple White button for decoration.
BEFORE...

AFTER! 
Simply Perfect

Refashioned Green Paisley Dress

BEFORE & AFTERS
Green Paisley Dress BEFORE....

Cute skirt AFTER!

 Yes, I couldn't let this dress go to the DI. I had to refashion it into a beautiful skirt. My niece gave it to me and I loved the print. It did not fit her or I but I knew the fabric was in great condition and I wanted to experiment with my sewing skills. I took the dress apart and began sewing...

 I unpicked the elastic inside the waistline of the fabric. Reduce, Reuse, Recycle! This was a project that I did not spend a penny on. That is the kid of craft I like!  

 Here is a picture of the elastic after I unpicked it. It came out beautifully. I folded the top of the skirt over and  sewed it. Inserting the elastic with a pin on the end was a cinch. I sewed the two ends of the elastic together and then sewed the opening. HERE is the finished skirt. Now.....What do I wear with it?

 I took in the top by slimming down the arms and sides. I don't know if I will actually wear this shirt, but I had fun making it smaller and practicing my sewing skills. I took this outfit from a size 22 and trimmed it down quite a bit.

Scrappy Sampler Twin Quilt

Here is the finished project laying on the end of the bed. This is my first sampler quilt and I am sure it won't be the last.

Here is a sneak peak of both the front and back sides of the sampler quilt.
My goal was to use every scrap of fabric I could find in my house for this quilt. I was running low on scraps so my neighbor gave me some of hers and I used them in this quilt. It has so many different colors but the boarders and sashing tie it all together well.
I can't believe how time consuming this project was. Would I do it again......yes but with the awareness that It will take months to complete. I started this Sampler Quilt class in January of 2011 and I finished this quilt in September. So 8 months later here is the final work of art. I struggled with some of the quilt blocks but I learned many valuable lessons from taking the class from Myrna. What a great patient teacher!

Here is my sampler quilt after it was machine quilted by Myrna and now it needs to be bound. I sewed the binding on one side and hand stitched the entire twin quilt on the other side.

This block was fun to do.

Packing the quilt top, batting and backing to get quilted.

Here is the back of the quilt. I had fun trying to find the right combination of fabrics to make it come together.
I laid out all the blocks and sashing before I sewed the rows together.
I love to use my rottery cutter to make nice strait rectangles for the sashing.
Quilt squares stacked and pressed flat.
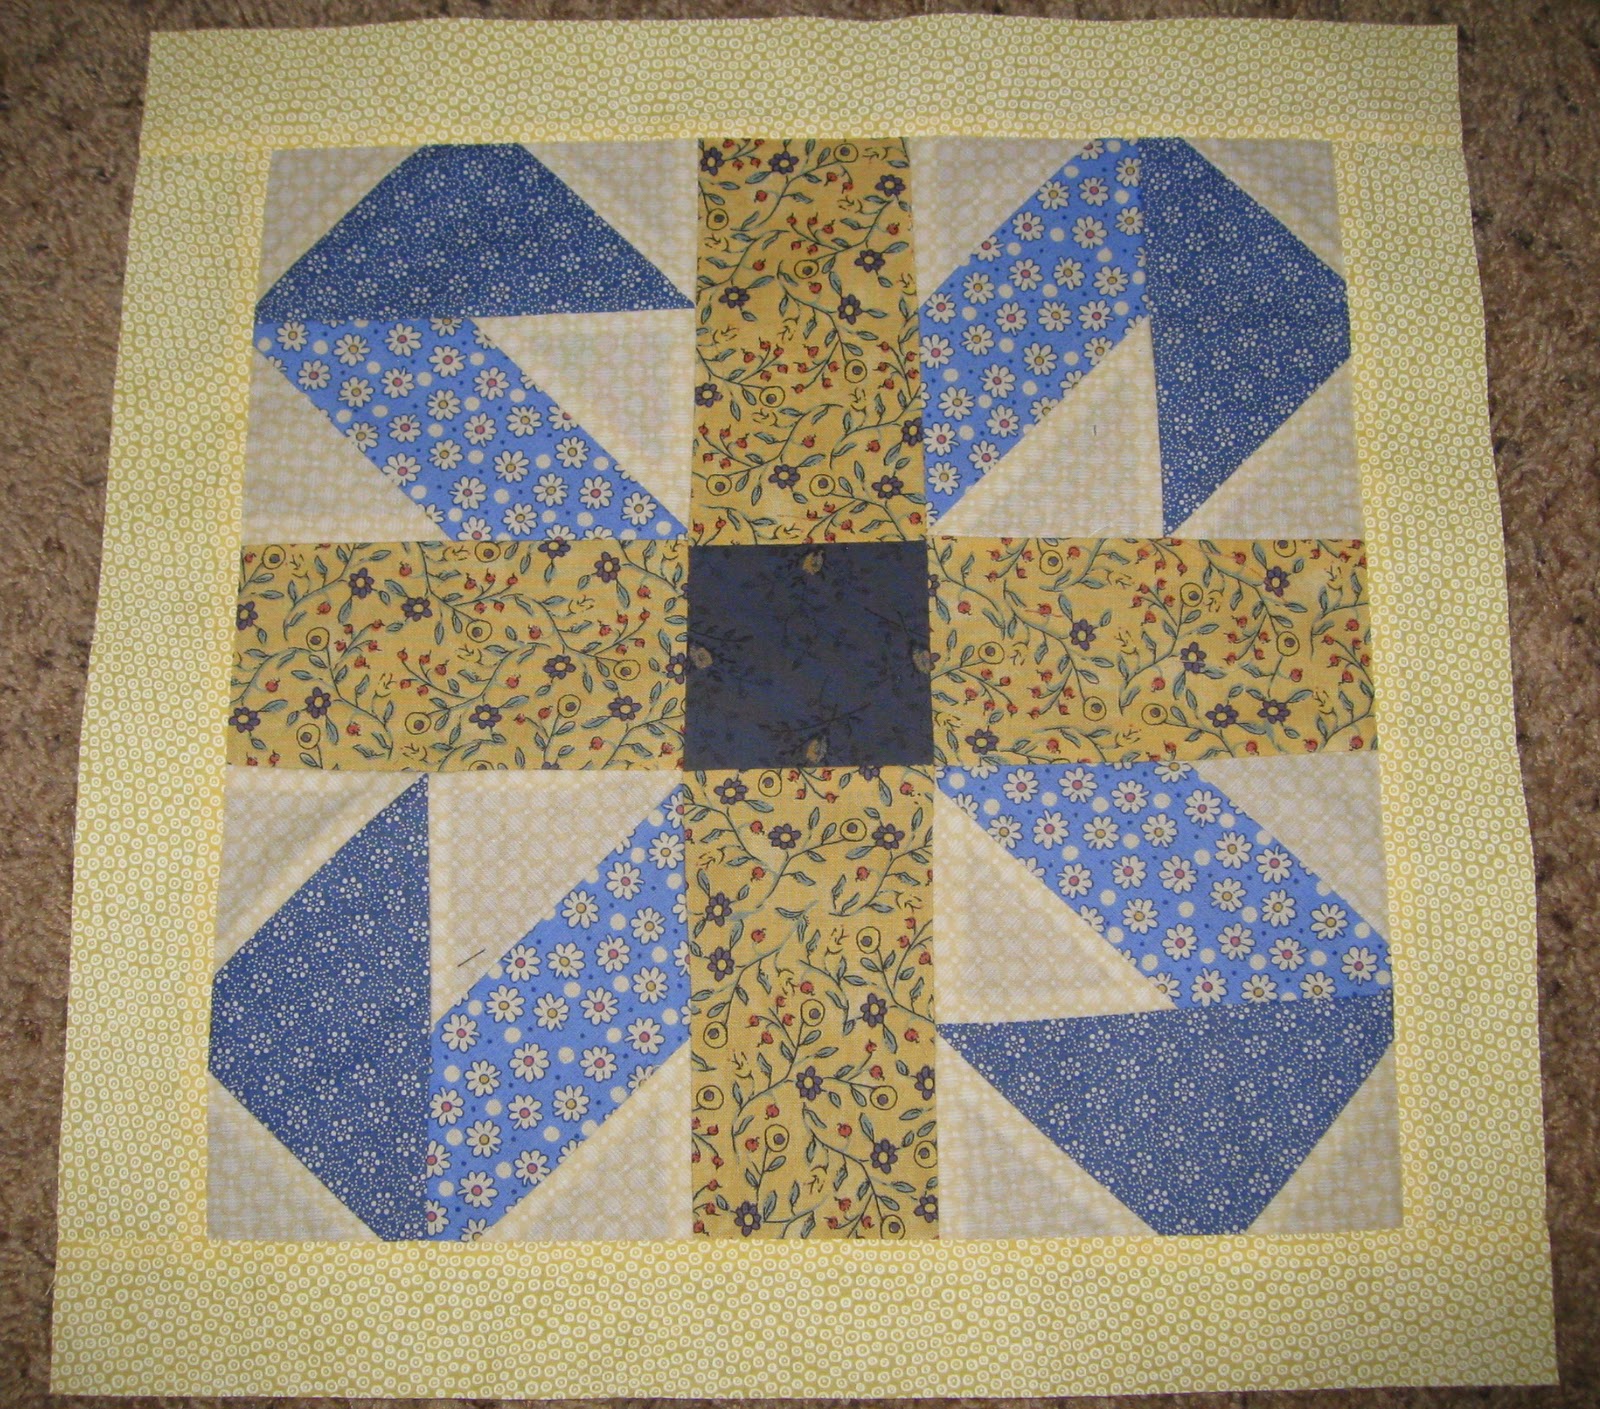
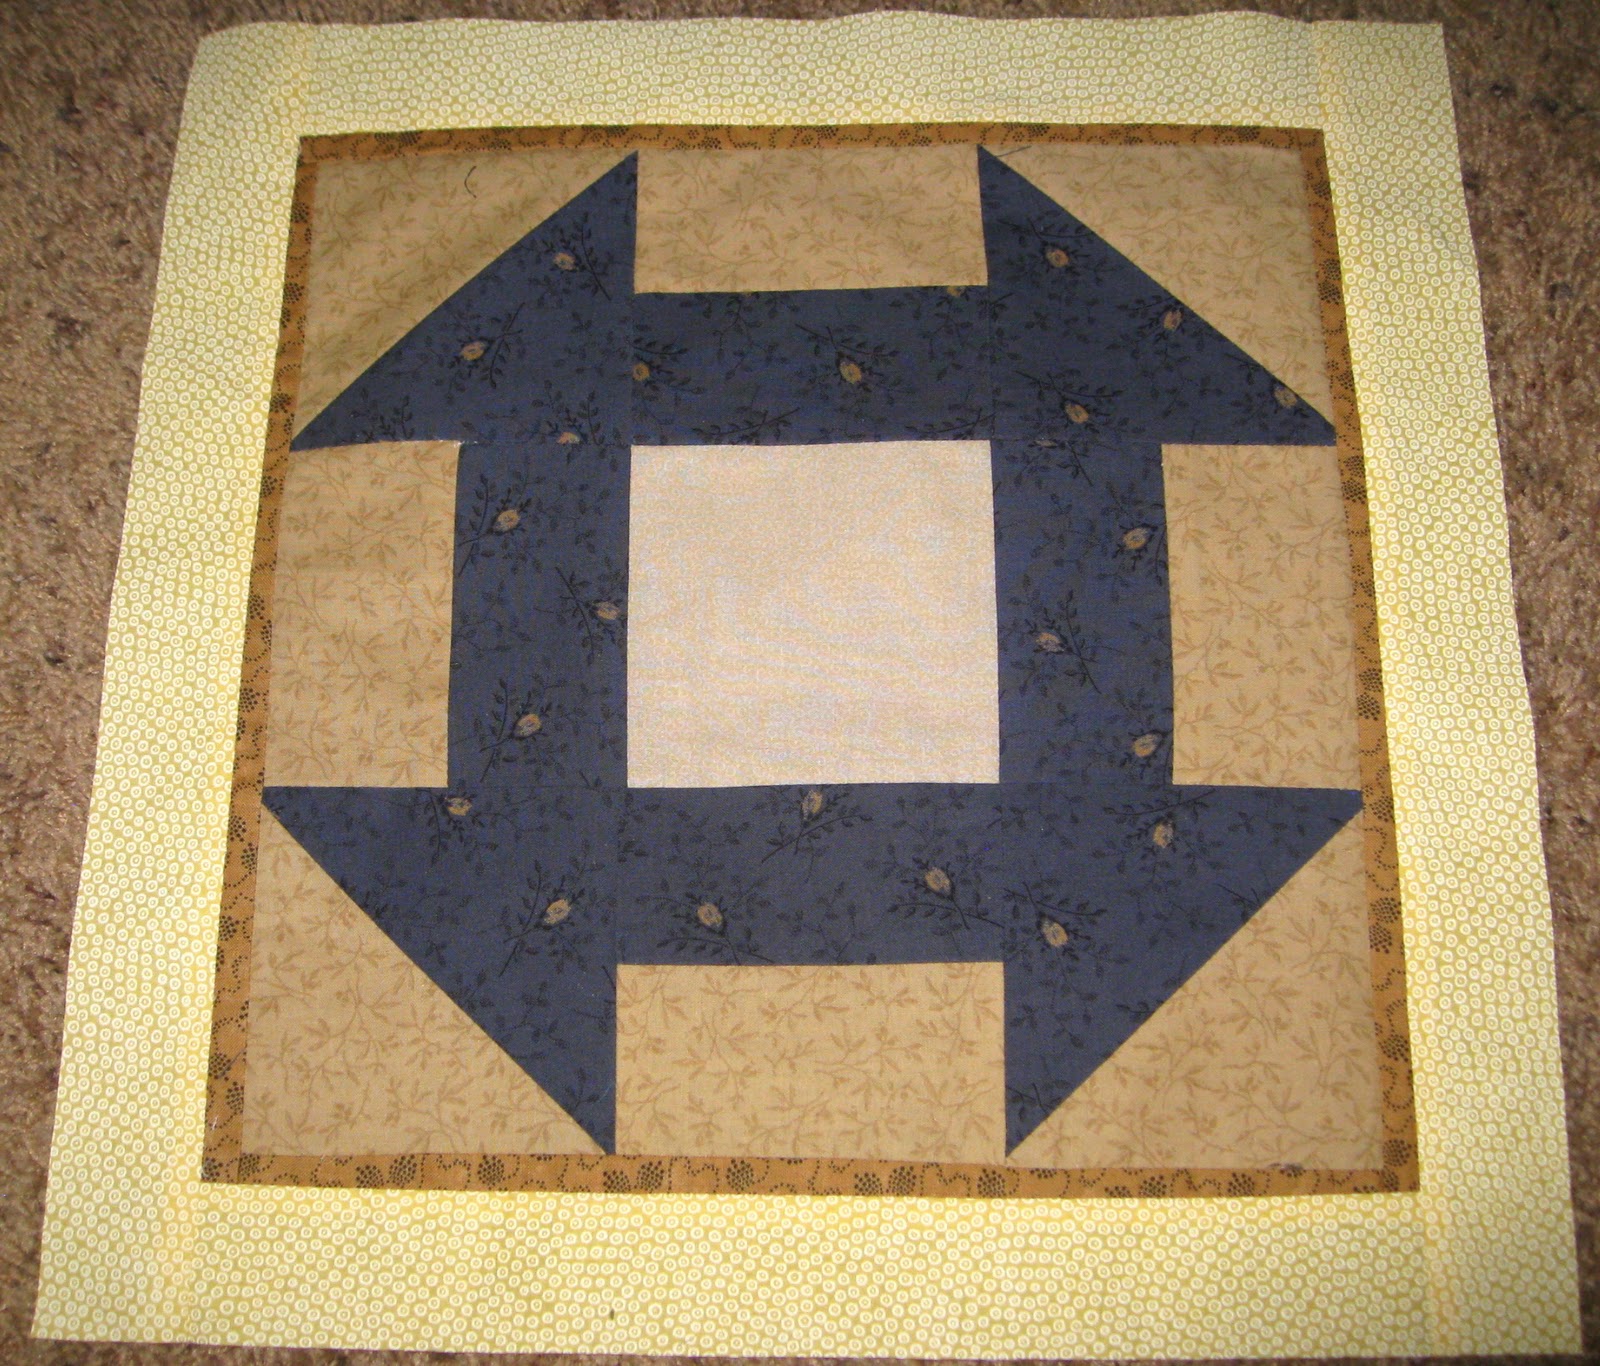
Below are all the quilt blocks as individual squares with the name of the design below each one.
"Dresden Plate"
"Jack-in-the-Box" ( I didn't use this one because it didn't match.)
"Drunkards Path"
"Jack-in-the-Box"
"Beth's Block"
"Rippling Star"
"Log Cabin"
"Night and Noon"
"Bear's Paw"

Made up version of a "pinwheel star"
"Rail Fence"
"Kentucky Chain"
"Paper-Pieced Hearts"
"Railroad"
"Turkey Tracks"-my own version.
"Crows Foot"
"Lillies"
"Double Cross"
"Churn Dash"
"Flying Geese"
"Pinwheel Star"
The finished Scrappy Sampler Quilt.

Tuesday, September 6, 2011

Concrete Column Flower Planter

This beautiful column flower pot used to be a bird bath. My sister gave it to me because I have loved it for years. I love her!!! I used the top of the pillar for months as a holding ground for my succulents. When I became brave...I decided to spray paint both pieces.

Here is the column before it got a fresh coat of primer. The column was pretty amazing how it was, but I wanted something more dramatic looking for my front door.

Here it is with a fresh coat of Kilns Primer. I love that stuff! I can already see a whole new look.

This column has primer on it then I sprayed a light coat of American Accents Stone spray paint on the right side. You can see the difference. I love what beautiful texture it adds to the column. It also ages the piece and makes it feel more Tuscany.

I really enjoyed this spray paint. The price of the paint was a bit steep. I am all about saving money, but it turned out to be worth the price once the project was completed.  I think the newly painted planter looks  lovely.

My husband glued the 2 pieces together with tile mortar. I sprayed it and left the garage and waited for it to dry. When I came back to the garage the planter was on the cement in 2 pieces, the column cracked around 8 inches and the bottom was chipped. I about died! I stood the 2 pieces up and decided to walked away for a day to think about what I would do with it now.

Soooo pretty!
The next day I thought I would use my limited skills to repair it. Using cement mortar I glued it back together and filled in the cracks with cement using a toothpick. That was a bit tedious so I lathered it on my fingers and  filled in the holes that way instead. I wiped the excess off with wet wipes. Did I mention that I love wet wipes! What did I use before I had kids. I can use wipes for just about everything! Then I spray painted it with a few extra coats of textured spray paint. It turned out in the end and I still love it.
Here is the finished project below.
 Here is the beautiful Tuscany column and I love it.
Simple and elegant! Just what I like.
 So the moral of the story is....don't give up when things don't go your way. There is usually a way to fix the problem if you think on it for a while.